Supraland is beginning to take the Steam community by storm. With that in mind, we have now come forward with a quick guide for any players looking to scrounge up all of the title’s highly sought after red moons.
Overview
Supraland puts the player right in the middle of a toy’s universe. The player takes control of a tiny, plastic toy figure in the midst of a boy’s backyard. The objective of the game is to traverse across the backyard’s sandbox to parlay with the warring toy kingdom’s leader. The first-person puzzle game quickly begins introducing new and unique game mechanics that each allow the player to interact with the world in new and interesting ways.
As the puzzles become more and more complex throughout the title, the game begins to introduce collectibles. One such group of highly coveted collectibles is that of the red moons. Collecting all of the red moons will unlock the “Supra Sword,” a weapon of great power.
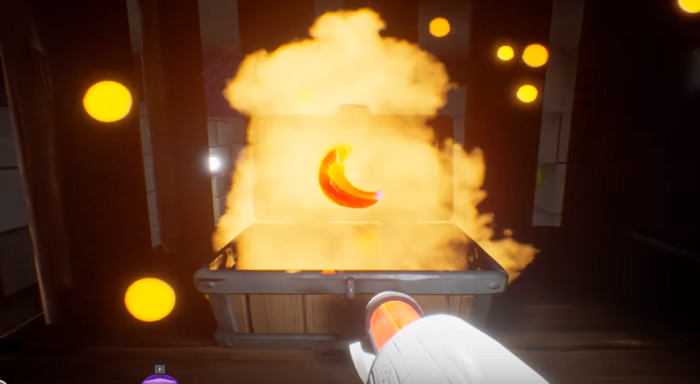
In order to collect all of the red moons, however, the player is going to have to keep their eyes peeled. Each red moon can be found within a hidden chest, as seen within the featured photo above. However, the player will have to have access to some late-game equipment in order to obtain some of the red moons. Consequently, it is best to first finish the game’s story before lurking around for these treasures. If you need some help getting through the campaign, here is a spoiler-free guide that will journey you along. If it’s just the final boss that is giving you trouble, then check out our guide here.
With all of that in mind, here is a quick rundown of how to track down each and every red moon in Supraland.
The video above was created by Game Guides Channel and features the location of each and every red moon, as well as the final step to obtaining the “Supra Sword.” For a lengthier approach to showcasing all of the moon locations, check out the video below as created by Ville Nousiainen.
For a detailed explanation of how to obtain each red moon, check out the information down below.
Red Moon #1
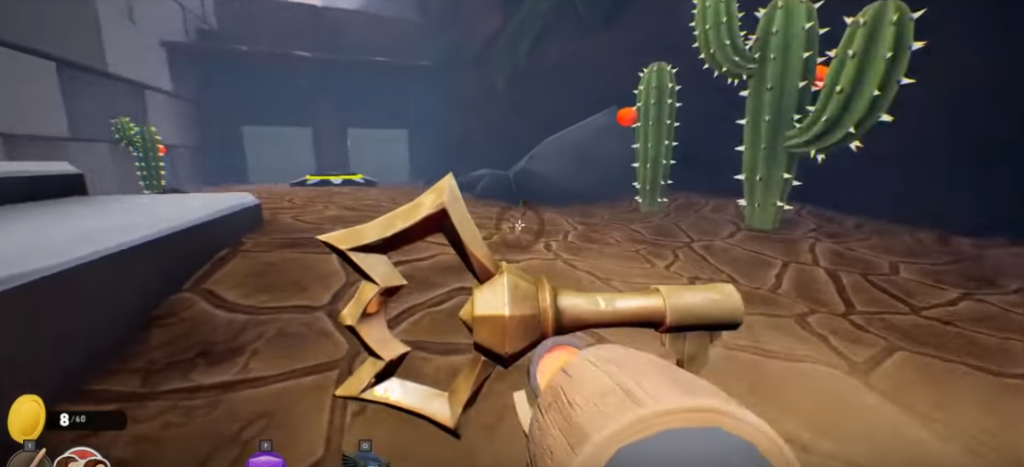
For the first red moon, you will first need to obtain the key illustrated to the right. The speedrun video above begins illustrating this process at the 13:17 mark. Drop the key in front of the leftward closed doorway ahead of you. Next, face the mountainside to your right and use your force cube to stagger your climb up the cliffside.
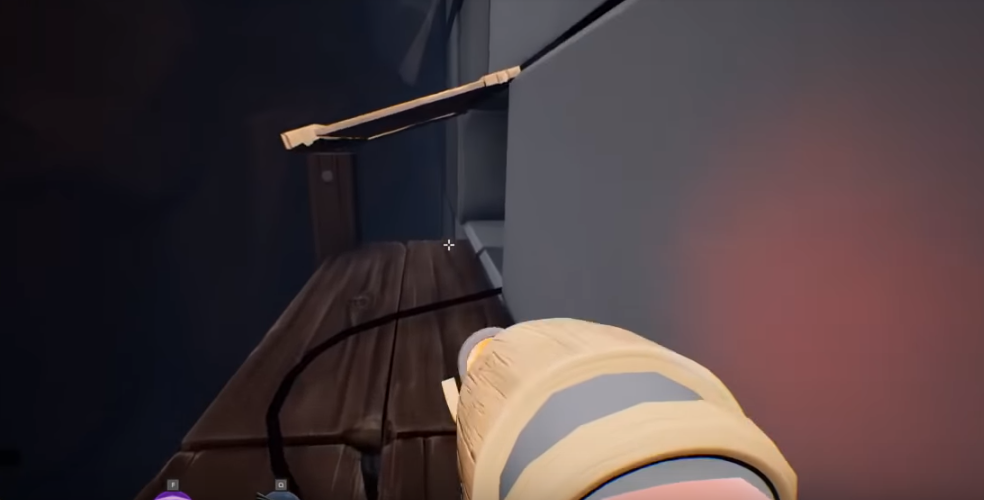
After ascending the mountainside, you will come across a wooden platform to your left. Leap out to the other side of the cliff by squeezing through the perpendicular crack on the left side of the wooden wall. Move forward across the path and then turn left to discover the locked gate that you need to open.
Click the button in front of the gate and obtain the supraball projected from the forward wall. Then, double back towards the cliffside from which you came. Place the supraball inside the yellow ring in front of you to open the previously closed doorway. You can now grab the key you placed on the other side of the doorway, return to the locked gate and unlock the gate with the key.
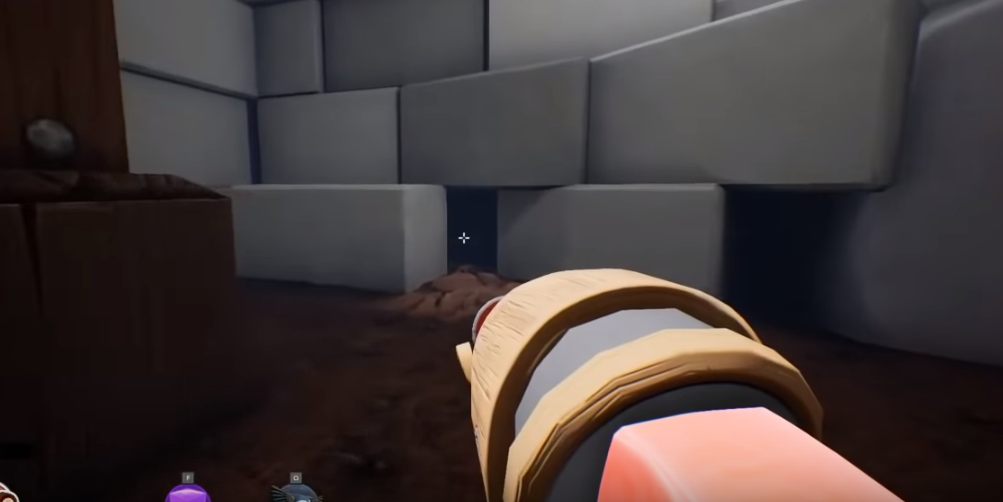
After crossing the gate’s threshold, venture to the rightward stone wall and cross through the gap between two massive stones as seen within the picture illustrated to the right.
From there, grab the nearby force cube and ascend the ramp until you come across a set of rings to drop the force cube within. This will activate a doorway in front of you, revealing the location of the first red moon chest. A photo of the referenced door may be viewed below.
Red Moon #2
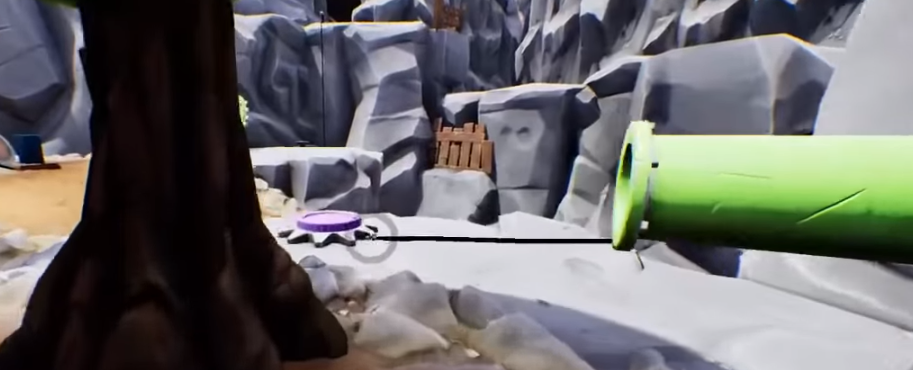
For the second red moon, you will want to travel to the chest containing the “Stomp” skill. Just outside of the wooden structure in which you find the skill will be a purple button as seen within the screenshot to the right. The speedrun video above begins this process at the 17:20 mark.
Activate the purple button, then venture to the stone slab across from the button. There is a large cactus near the stone slab, which should let you know that you are in the right place.
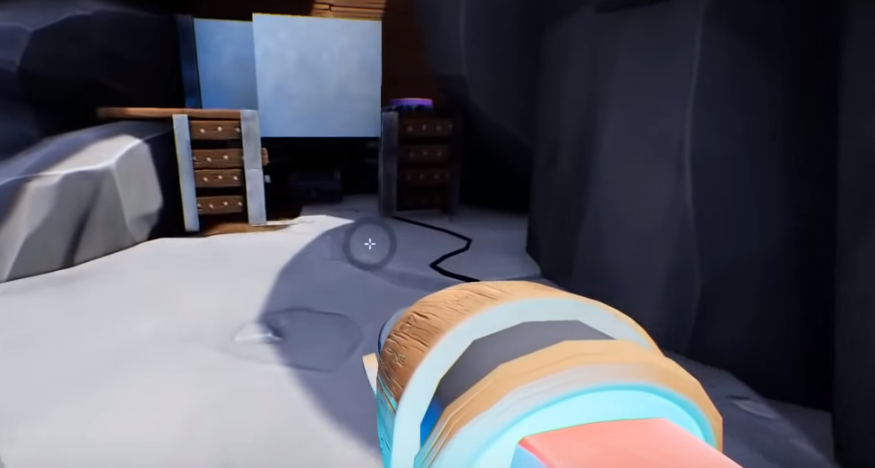
Launch yourself with a supraball to leap upwards onto the raised stone slab to your right just above the wooden pallet. Continue forward and then leap the small gap in front of you to traverse across the stone. A doorway will be visible in front of you, as seen within the screenshot to the right.
Inside the doorway is the second red moon chest.
Red Moon #3
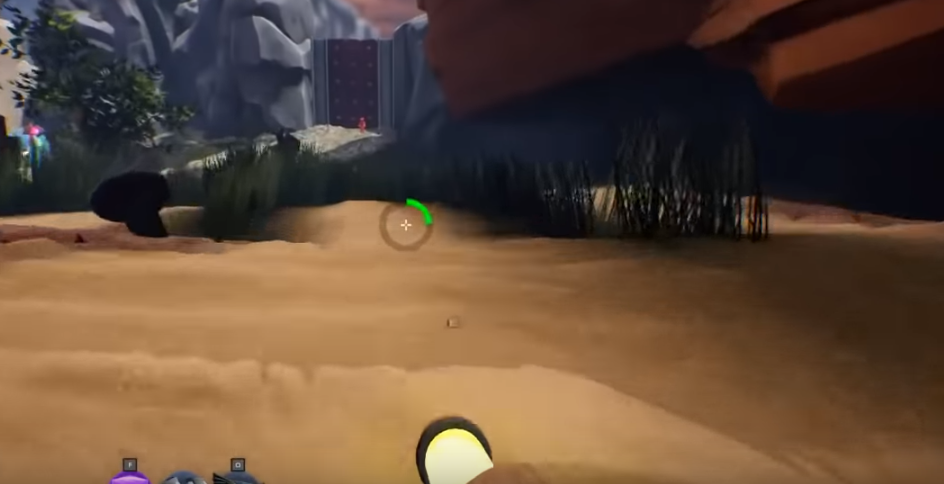
The next red moon will be a bit tricky to reach. First you will want to venture to the massive red door being guarded by the red figure as illustrated within the photo to the right. The speed run video above illustrated this at the 18:52 mark.
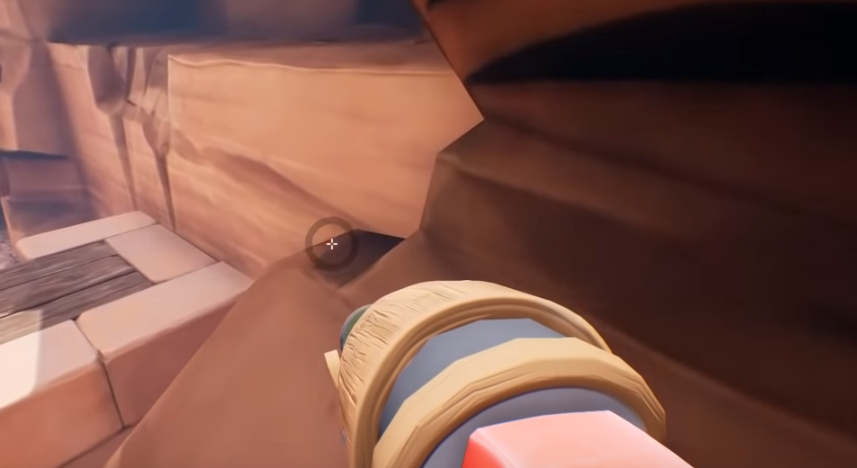
Elevate up the metal frame next to the red door. Turn to your right and leap to the nearby cliffside. Continue forward until you see another smaller cliff side to your left, as illustrated to the right. Use force cubes to ascend the cliff side. It will probably take a few tries to make it up the cliff, as it requires some tricky positioning.
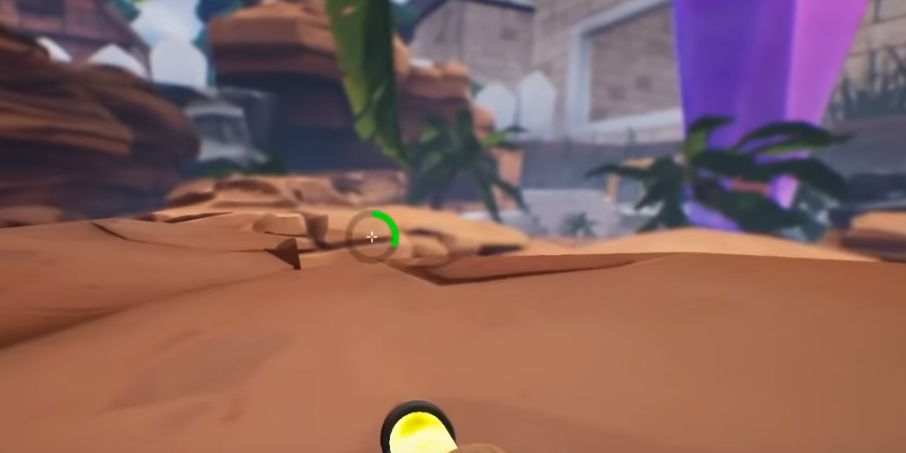
Ultimately, you will find yourself at the top of the cliffside after some clever force cube positioning. The illustration to the right represents the cliff’s height.
Continue forward across the cliff until you approach a massive crevice. You will know you have reached the crevice when you see a pair of palm trees sprouting upwards out of the deep descent.
Make your way downwards into the crevice until you come across a cave entrance to your right. Within the cave is the third red moon chest. Check it out within the photo below.
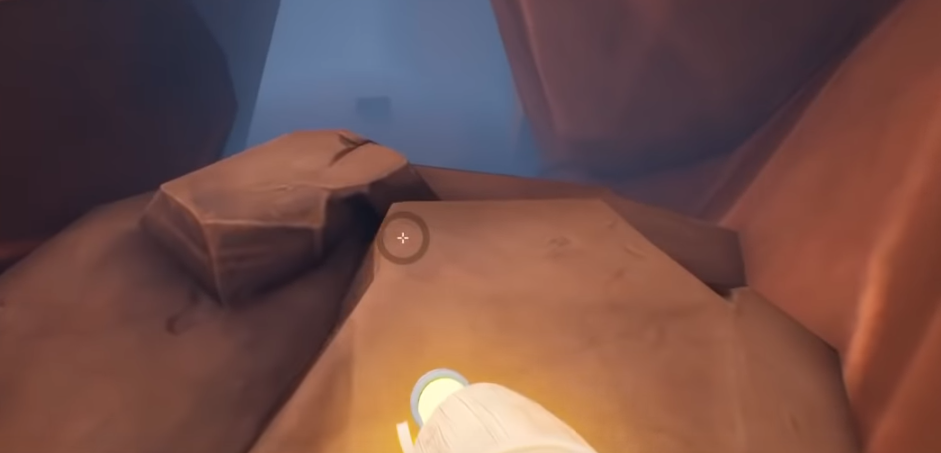
Red Moon #4
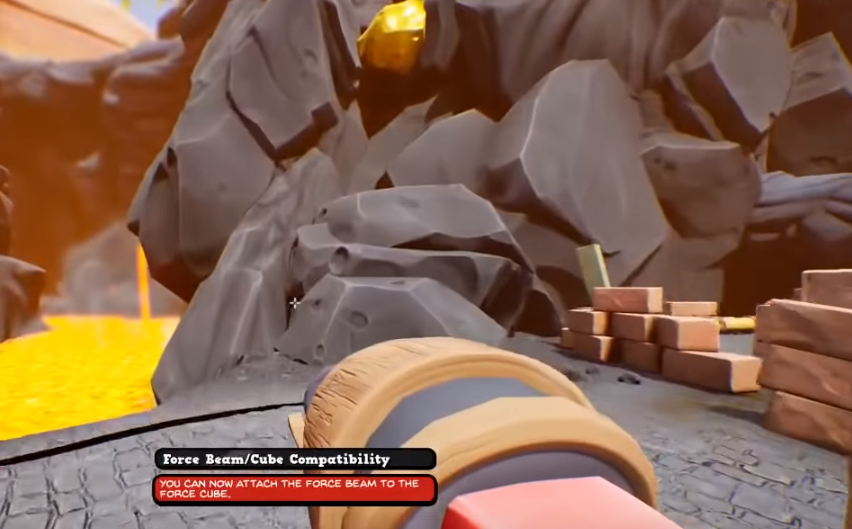
The next red moon location is near the upgrade for the Force Beam/Cube Compatibility in the lava pits. The speed run video above begins illustrating this at the 26:33 mark, as seen within the screenshot to the right.
First, turn around and head towards the bridge to your left. Use your force beam to connect the bridge to a force cube within the circle at the end of the bridge. Leap up, using the force cube as a mid-air platform and jump to the nearby cliffside opening on your right.
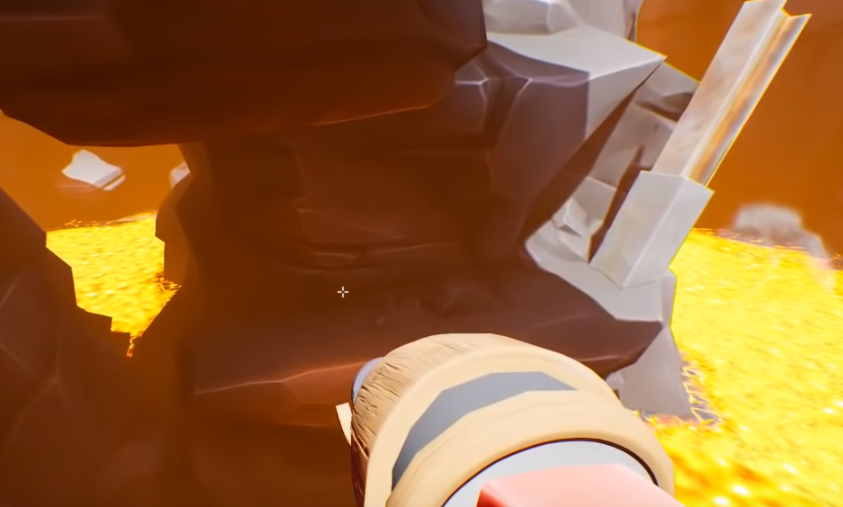
Continue forward and leap to the mountainside directly in front of you, as illustrated to the right. Next, take a right and levitate up the massive rod of metal so that you can reach the higher level of the mountainside. You may have to stagger force cubes to make it all the way up.
Next, turn around. Leap to the adjacent cliffside. There will be a blue toy figure just on the other side. Travel across the left, outer side of the nearby building, passing the blue toy figure. Levitate up the nearby metal rod in order to get to the top of the building. The next red moon chest will be there waiting for you.
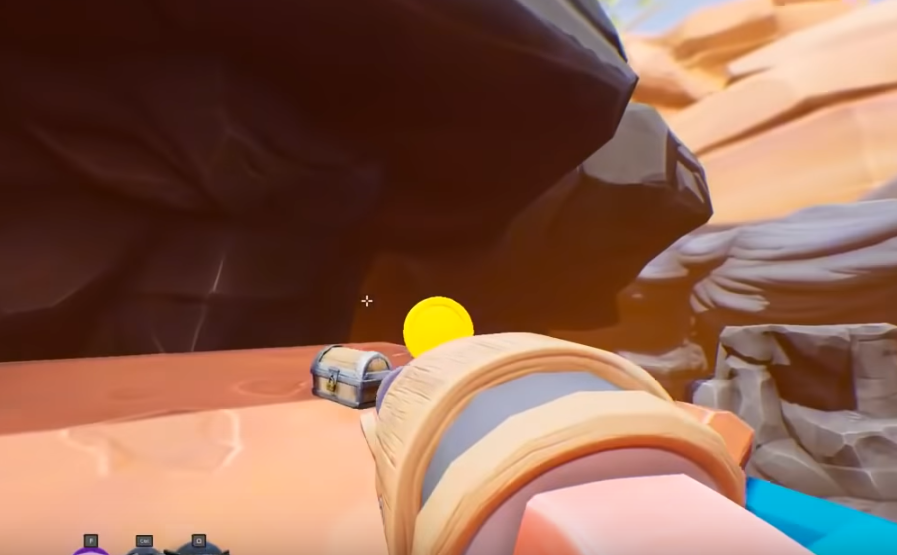
Red Moon #5
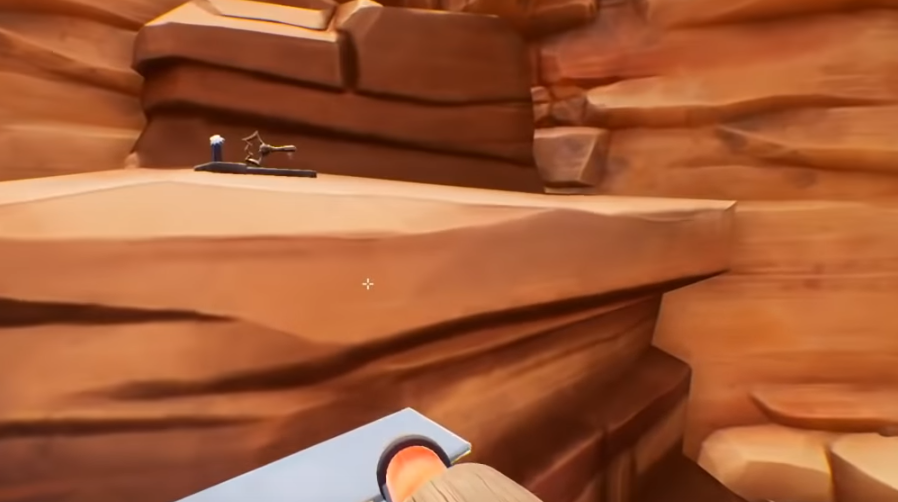
In order to pick up the next red moon, you will first have to scrounge for the key illustrated to the right. The speed run video above begins showing this at the 37:50 mark.
Grab the key from the cliff side and then leap back to unlock the nearby gate. Complete the puzzle to open the massive door within the hallway and then press on to your next destination. Moving forward down the mountainous corridor, you will eventually drop down a few feet. After dropping down, turn around to discover another large door. The door can be seen within the illustration to the right.
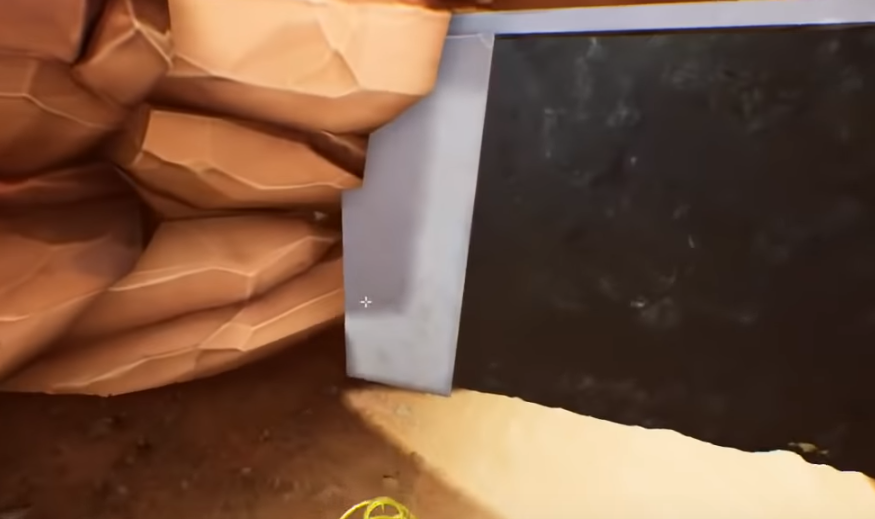
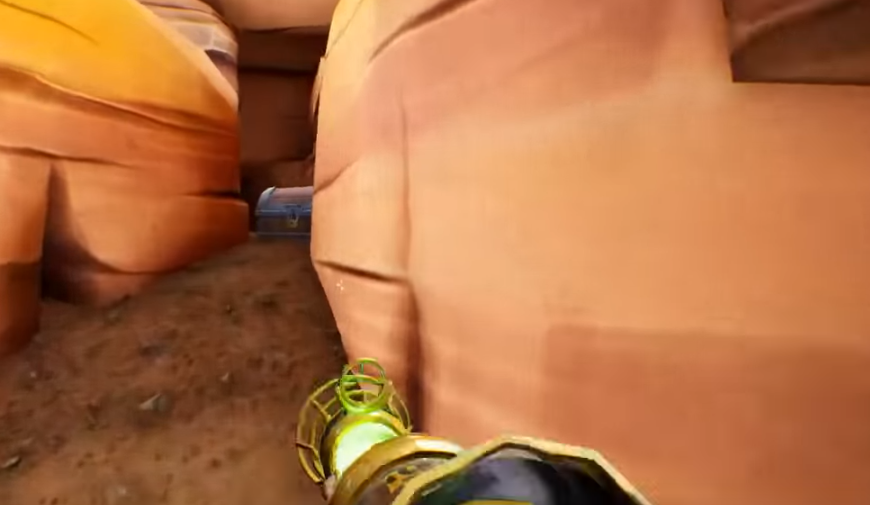
Make your way through the door, which may take some time. Move forward until you have passed two patches of yellow crystals. Then, the next red moon chest will be to your right.
Now there is only one red moon chest left.
Red Moon #6
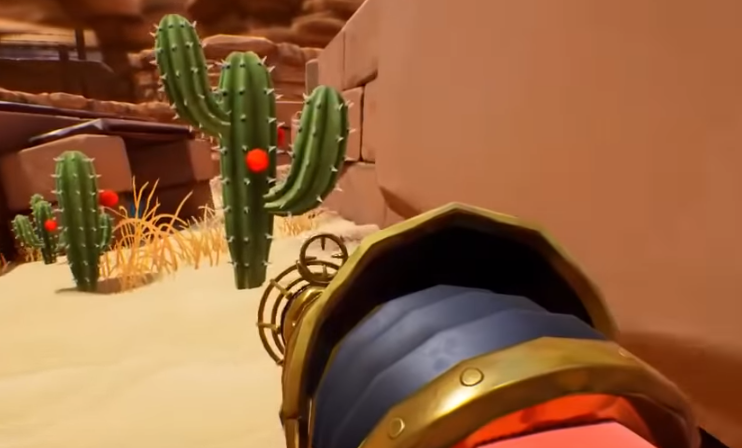
For the final red moon, you will need to begin your venture near one of the green moon locations. The speed run video above begins illustrating this at the 41:24 mark, as seen within the screenshot to the right.
Take a right at the cacti and enter the nearby building. Then, use your stomp to break the wooden floor below you.
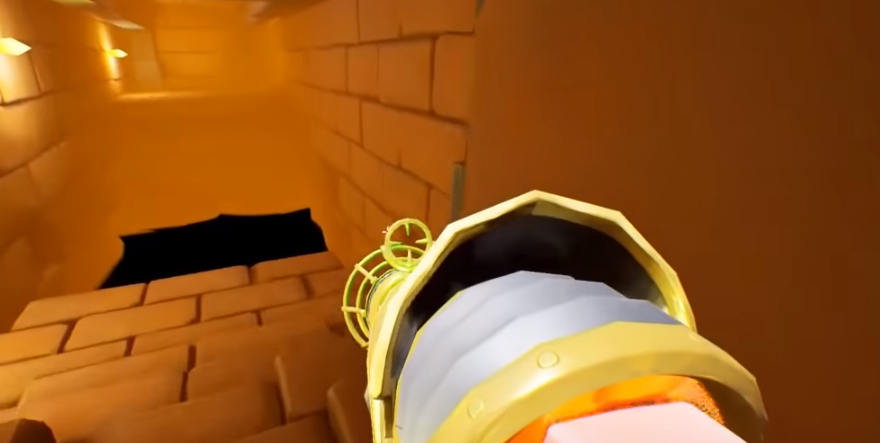
The surrounding tunnel that follows can be seen within the illustration to the right. Levitate over the pool by staying close to the surrounding metal. Then, teleport through the crack in the ceiling at the end of the metal railing. Turn around and you will see a green moon chest.
Take the green moon and then flip the nearby switch to get out of there. Run forward past the cacti and near the mountain. You will pass a blue sign on your path. On the other side of the blue sign will be a mountain pass. Rather than take the pass, climb up the side of the pass’ right outer, mountain wall so that you can leap across to the left side. This will likely take a few tries.
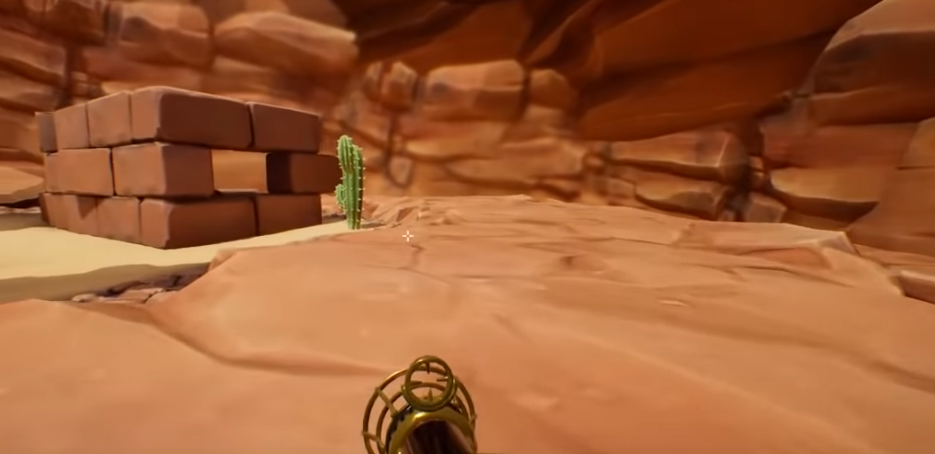
Once you are on top of the right side of the mountain pass, you will see a structure. The structure is illustrated to the right. Make your way to the structure, as the final red moon chest is hidden within.
Now that you have garnered all of the red moons, it’s time to obtain the Supra Sword.
How to Obtain the Supra Sword
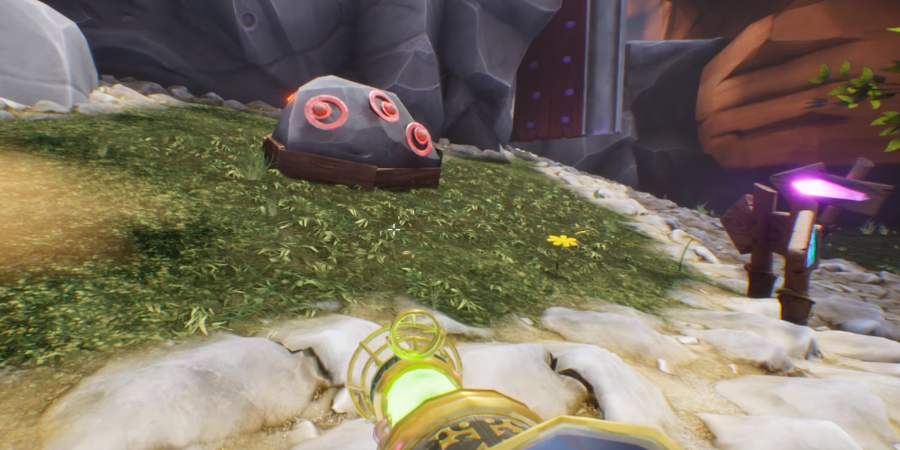
The Supra Sword deals some serious damage and swings faster than other swords. Consequently, it can be a great addition to your arsenal. In order to earn the weapon, you will first have to garner all of the red moons as noted above.
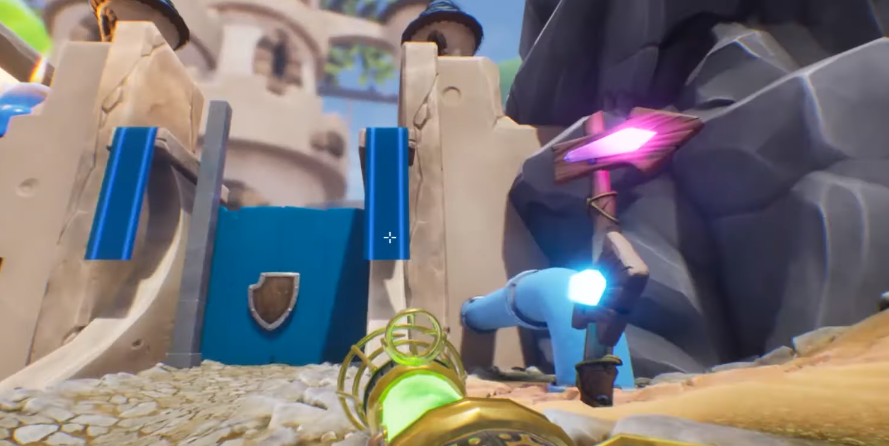
After that, travel back to the blue castle as illustrated to the right. To the right of the gate seen here, as noted by the glowing purple sign, is a large stone inscribed with six red circles. Place a red moon in each of the circles and your brand new Supra Sword will become available.



Comments are closed.